


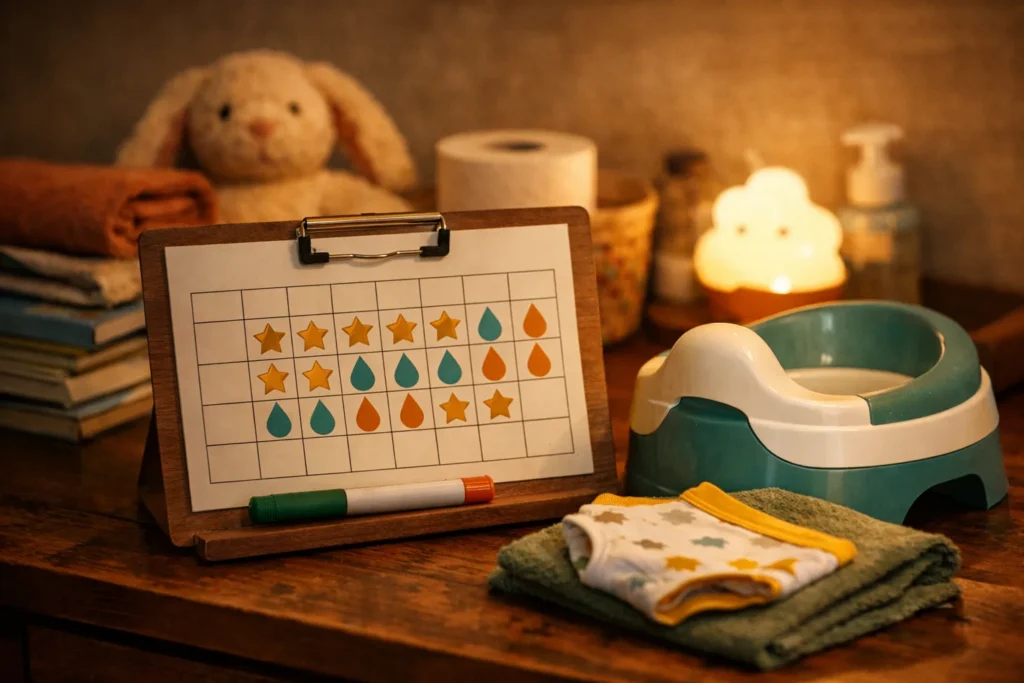
Potty training is less a single event than a stretch of weeks or months in which a child learns to notice, hold, and release on purpose. The American Academy of Pediatrics, on its parenting site HealthyChildren.org, describes a child-oriented approach that follows readiness rather than the calendar, and the Mayo Clinic’s patient pages say much the same. This guide walks through the stages in order. It is general information, not medical advice, and your pediatrician is the right person for questions about your own child.
Step 1: Watch for readiness
Before buying anything, look for signs: staying dry for a couple of hours, showing interest in the bathroom, imitating adults, using simple words for pee and poop, and disliking a dirty diaper. Most children show several of these between about 18 months and 3 years. If few are present, wait a few weeks and look again. Starting before a child is ready usually makes the process longer, not shorter.
Step 2: Get the gear
You do not need much. Think through each piece.
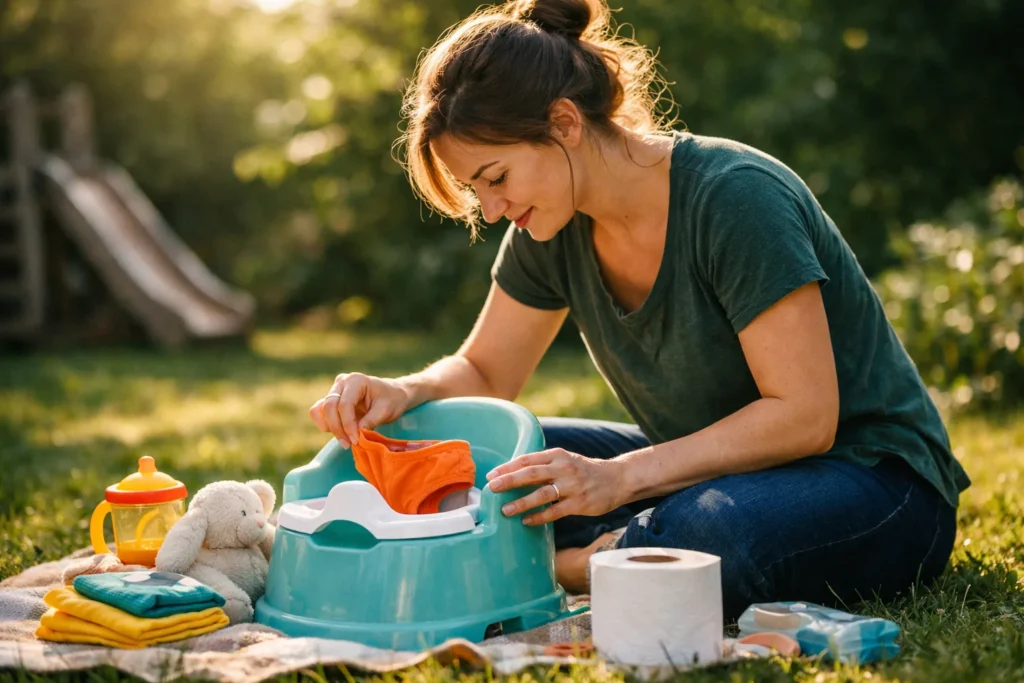
- A potty chair or a toilet seat reducer. A freestanding potty sits on the floor, so a child can get on and off alone, and feet rest flat, which helps with bowel movements. A reducer seat is a ring that fits on the regular toilet and needs a step stool for the feet. Some families use both, the potty at home and a foldable seat for outings.
- Training pants and underwear. Disposable pull-ups are convenient for travel and naps, while cloth training pants and underwear let a child feel wetness, which makes the connection clearer.
- Spare clothes. A dozen pairs of underwear and a few changes of pants will save laundry stress.
- A step stool and a book or two. Short books about the potty help a child learn what to expect.
Pot or seat is a matter of preference. Let your toddler try both, and keep it playful.
Step 3: Prepare your child
For a week or two before starting, talk about the potty in simple words. Let your toddler sit on it fully clothed, put a doll or stuffed animal on it, and watch family members use the toilet if they are comfortable with that. Use plain, matter-of-fact words for body parts and body functions, and avoid words like “dirty” or “stinky.”
Step 4: The first days
Pick a few days when the schedule is calm. Many families stay home. Put your child in underwear or training pants during the day, and build a rhythm.
- Offer the potty after waking, after meals and snacks, and before leaving the house or going to bed.
- In between, offer it every hour or so at first, and let your child sit for a few minutes with a book.
- Offer plenty of fluids, so there is something to practice with.
- Praise trying and sitting, not only success.
Be prepared for accidents. They are a normal part of learning and not a sign that something is wrong.
Step 5: Handling accidents
When an accident happens, stay calm. Say something like, “Uh-oh, pee came out. Next time we’ll put it in the potty,” and help your child change. Have your toddler help with cleanup in a small way, such as putting wet clothes in a basket, but do not make it feel like punishment. Shaming, scolding, or punishing can lead to fear, withholding, and setbacks. If accidents increase after a dry period, look for stress, illness, or a big change at home. A child who withholds stools or complains of pain should be seen by a pediatrician.
Step 6: Going out
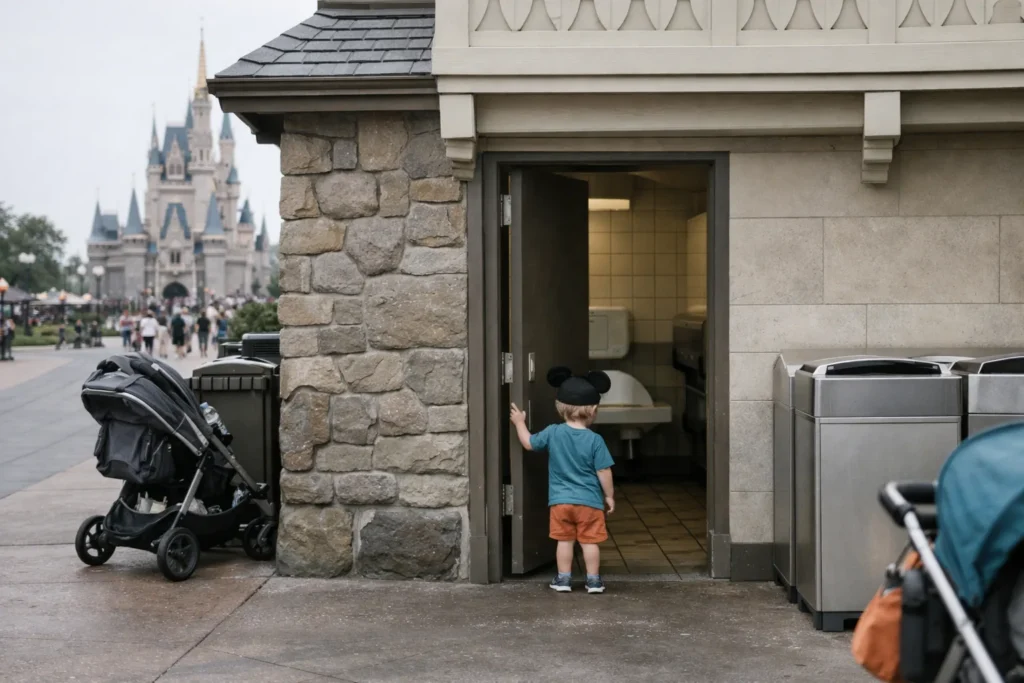
Short trips first. Before leaving, have your child sit on the potty. Bring a bag with spare underwear, pants, wipes, and a plastic bag for wet clothes, and a foldable seat if your child prefers it. In public restrooms, loud flushing and automatic sensors can scare a toddler. Cover the sensor with a sticky note, or flush after your child has stepped away. For longer car trips, plan frequent stops.
Step 7: Naps and nights
Daytime dryness comes first. Many children continue to use a diaper or training pants for naps and nighttime for months or even years after daytime training is complete. This is normal and not a failure. Wait until your child wakes dry on several mornings in a row before dropping the nighttime protection, and talk to your pediatrician if nighttime wetting continues well into the school years.
Step 8: Hygiene and routines that stick
Once your child is using the potty regularly, add the habits around it. Show how to wipe gently, front to back for girls, and keep a small stack of wipes or toilet paper in reach. Wash hands with soap for as long as it takes to sing a short song, every time, and dry them well. Keep the potty chair easy to find, and empty and rinse it promptly so it does not become a smelly reminder. A simple picture chart on the bathroom wall, with steps like sit, wipe, flush, and wash, helps a child remember the order without a lecture.
It also helps to keep clothes simple during this stretch. Elastic waistbands, no buttons, and no overalls make a quick trip much easier. Leave a spare outfit in the car and in the day care bag, and tell any other caregiver what words and routines you use, so your child hears the same thing at home and away.
A note about pace
Some children are dry in a week, and others take several months. Progress is rarely a straight line. If you feel stuck, it is fine to stop for a few weeks and try again later. Keep the tone friendly and keep a sense of humor.
When to call the pediatrician
- Pain or crying when urinating or having a bowel movement.
- Constipation, hard stools, or avoiding the toilet for bowel movements.
- Frequent accidents after a long dry period.
- Signs of a urinary tract infection, such as fever or strong-smelling urine.
- No interest at all by around age 4.
For further reading, the AAP’s HealthyChildren.org and the Mayo Clinic both have family-friendly overviews. For help with mealtimes while potty training, see Eating and picky eaters.